A printer-friendly version of this blog post is available here.
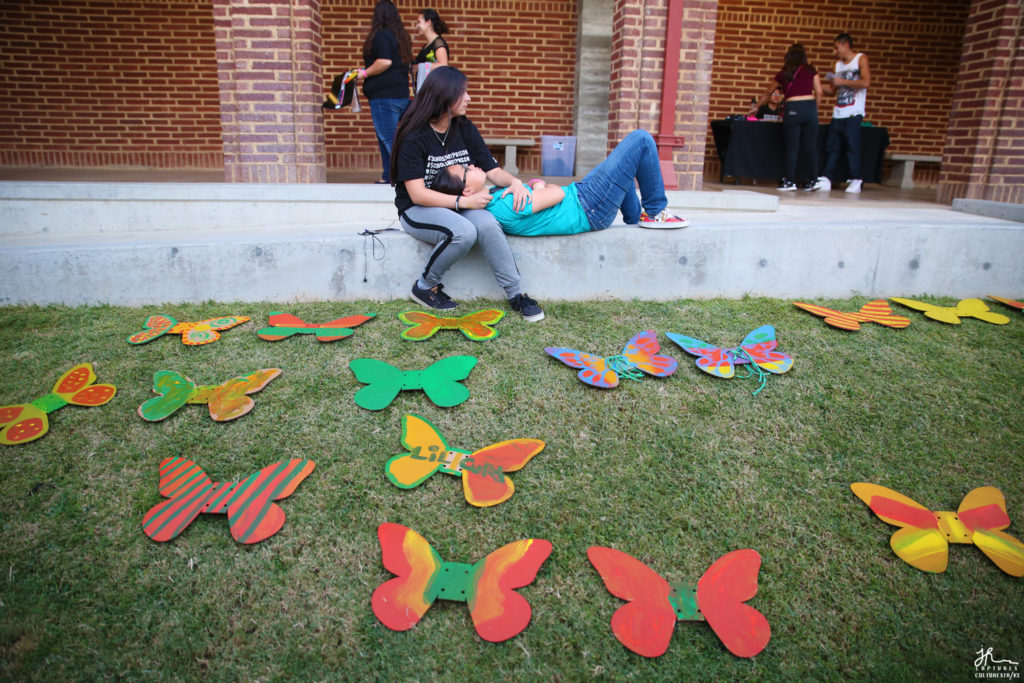
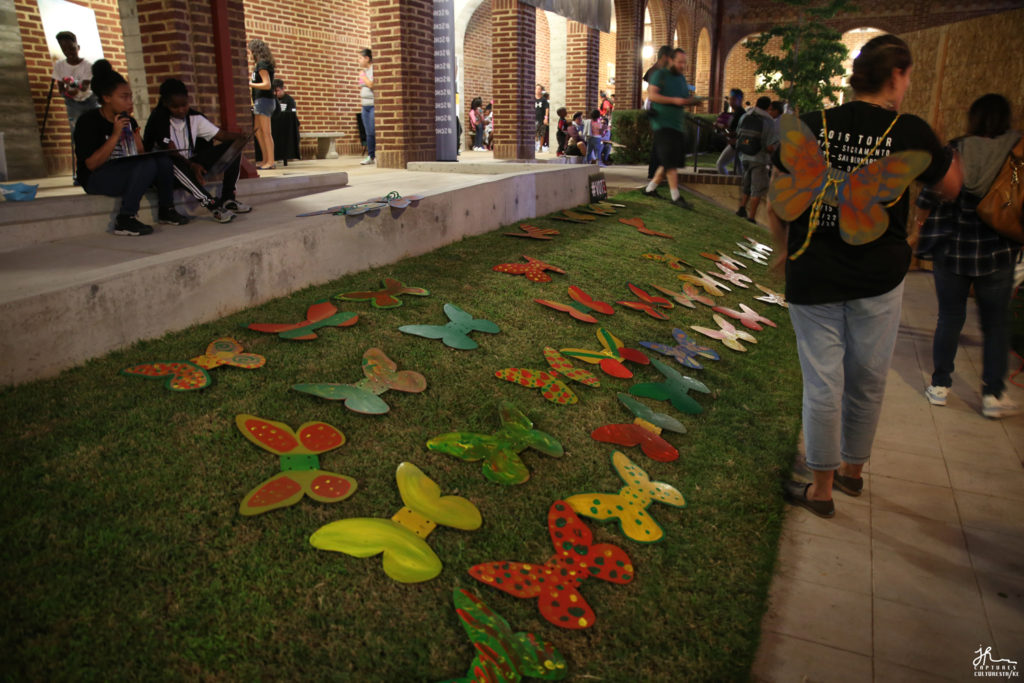
This year is already shaping up to be a year of protest, from the 70-city “Here To Stay” pro-immigrant mobilizations on January 14th, to the Women’s March on Washington on January 21st. In the spirit of powerful resistance, I have compiled the following DIY that will teach you how to create butterfly wings to wear at protests and rallies (Thank you, Favianna Rodriguez and CultureStrike, for the inspiration and advice! Migration is Beautiful).
Monarch butterflies migrate yearly in order to survive, making the butterfly a beautiful metaphor for immigration. As CultureStrike explains:
A perfect example of how art intervenes playfully and politically, the Migration is Beautiful butterfly proposes a new way to think about migration, rooted in movement, transformation, and captivating grace. From art prints to street art, clothing, and interactive experiences, this viral imagery reaches audiences on emotional and visceral levels, replacing images of fear with visions of shared humanity.
Migration is Beautiful began at Opportunity Agenda’s Creative Change retreat in August 2012, where CultureStrike’s Executive Director Favianna Rodriguez led an interactive design session with artists and activists. The butterfly image and tagline quickly emerged as an approachable way to reimagine borders as permeable rather than militarized, reinvigorating a metaphor that many migrants have looked to for generations. CultureStrike quickly started commissioning artworks incorporating the butterfly and made them available for reuse and remixing.
Here is a step-by-step guide to make your own butterfly wings, which you can customize with words, symbols, anything your creative mind can dream up.
If you’re not the crafty type, or just want to view some gorgeous protest art, purchase Favianna Rodriguez’ Inauguration Protest Kit or check out the rest of her work here.
I highly recommend you watch this video, “How to Make Stencil Posters,” from CultureStrike before beginning your wings. It includes great tips on how to prepare work surfaces, create and use stencils, and spray paint to achieve high-quality results.
Now, grab a few supplies from your local store and get to work!
Supplies & Equipment
- Wings template (optional)
- Poster board for wings pattern, stencils, and decorations
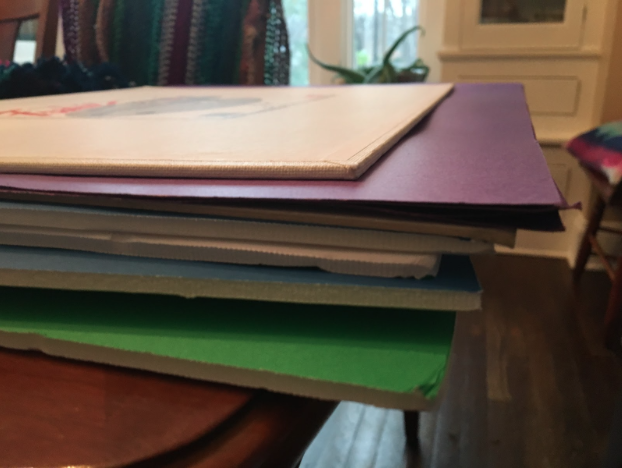
- Cardboard for the wings (I used Fredrix Artist Canvas Panel 18×24, Crescent Cold Press Illustration Board Heavyweight 20”x30”, Foam Board 20”x30”)
- Pencil and marker
- Jig saw, band saw, or exacto knife to cut out the wings
- Gasket hole punch (optional)
- Sandpaper (optional)
- Elastic (I used Dritz 1” Non-Roll Elastic in Black)
- Scissors
- Stapler (or needle and thread)
- Glue (I used Modge Podge)
- Paint and Other Decorations (spray paint, acrylic paint, glitter, etc)
- Latex Finishing Spray (I used Krylon Low Odor Clear Finish)
Steps
1. Create Wings Pattern
a. If you are using the wings template, print on extra large paper and cut out. The wings template is approximately 20” by 14”, and this size fits both adults and children. A print shop should be able to print out the template for a nominal fee.
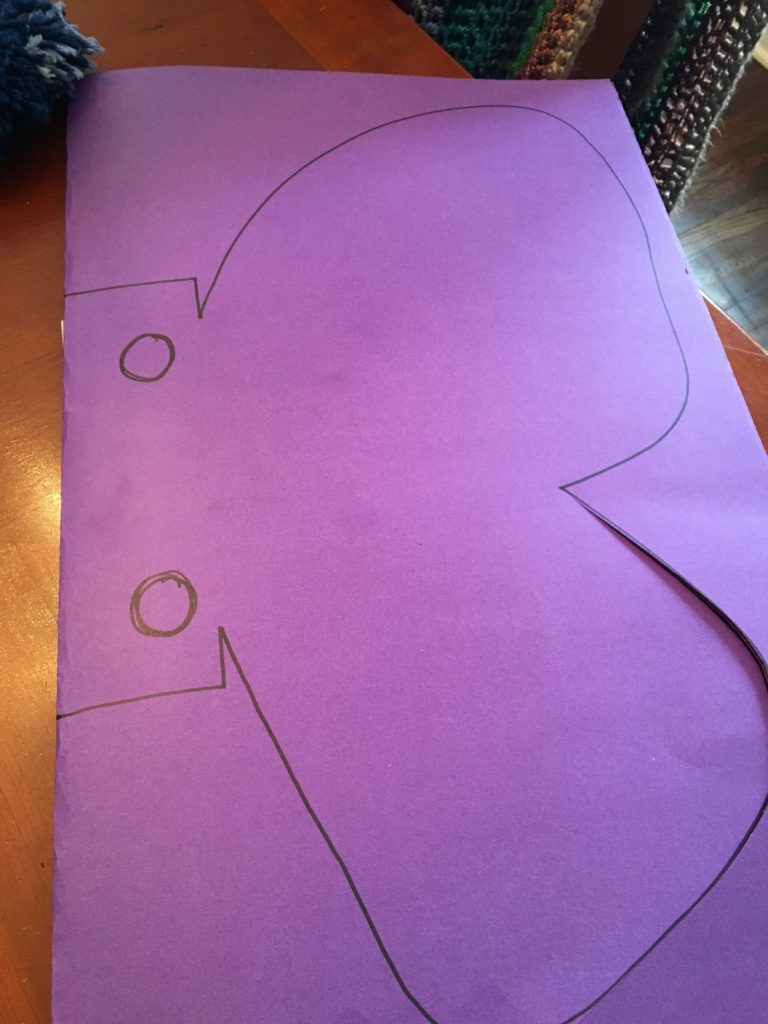
b. Fold poster board in half and cut out wings pattern.
— If using wings template, fold in half as well. Place folded template on top of folded poster board and trace around one side of the template with pencil or marker. Remove template and cut out wings pattern.
— If not using wings template, draw half of a pair of butterfly wings on the poster board and cut out. Make sure you follow the contours of the pattern, which includes a sturdy middle “body” where we will eventually put holes for the arm straps.
c. Reserve scrap poster board pieces to make decorative stencils or other elements later.

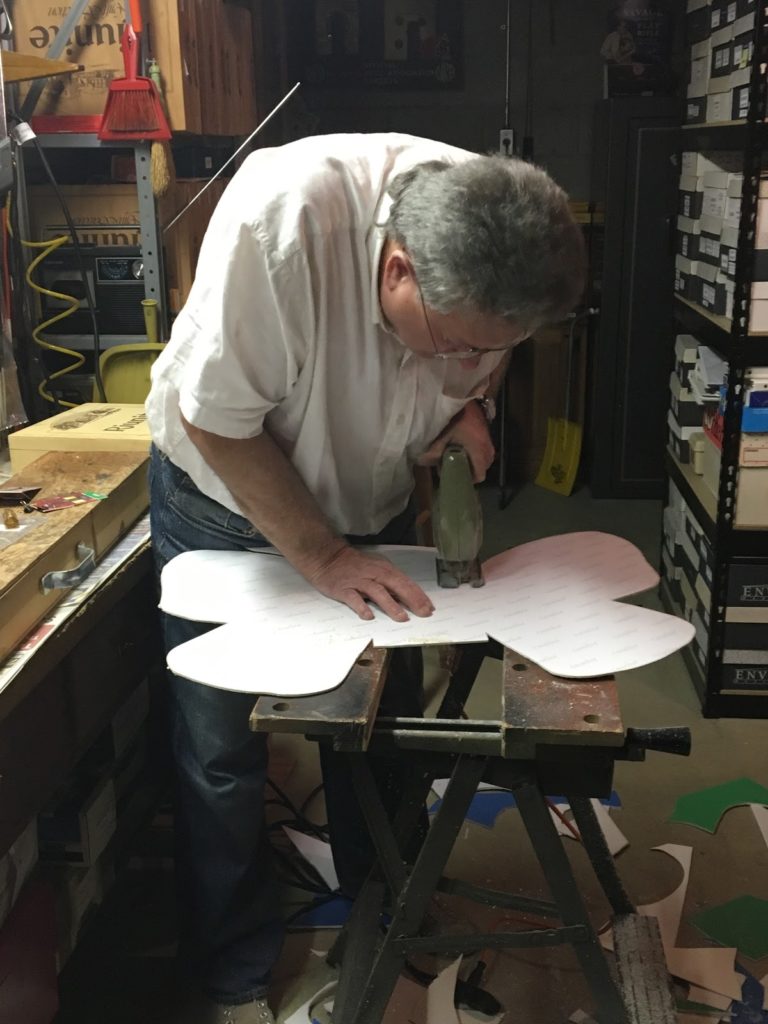
2. Cut Out the Wings
a. Unfold the wings pattern and trace it on your cardboard or poster board. Using an X-ACTO knife, jig saw, band saw, or other cutting tool, cut out the traced wings (get help if you are under 18).
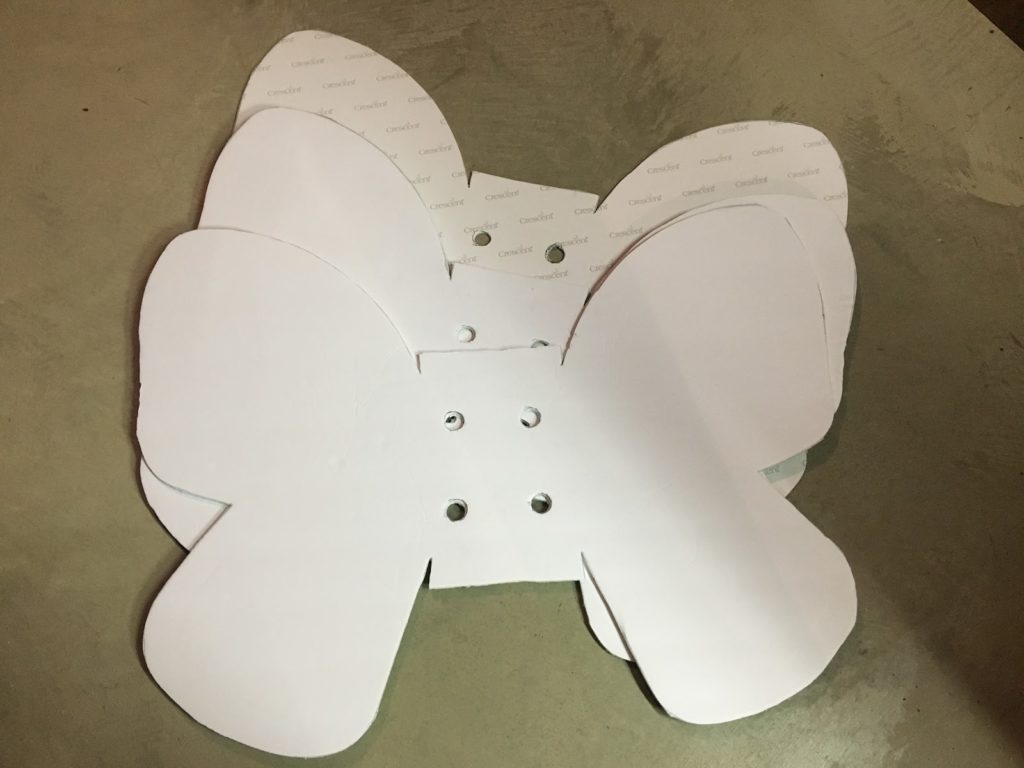
b. Draw holes for arm straps and cut out with X-ACTO knife, gasket hole punch, or other tool. The holes should be approximately ¾ inch in diameter, and lined up top and bottom (see template).
c. If edges of the wings appear rough, smooth with sandpaper.
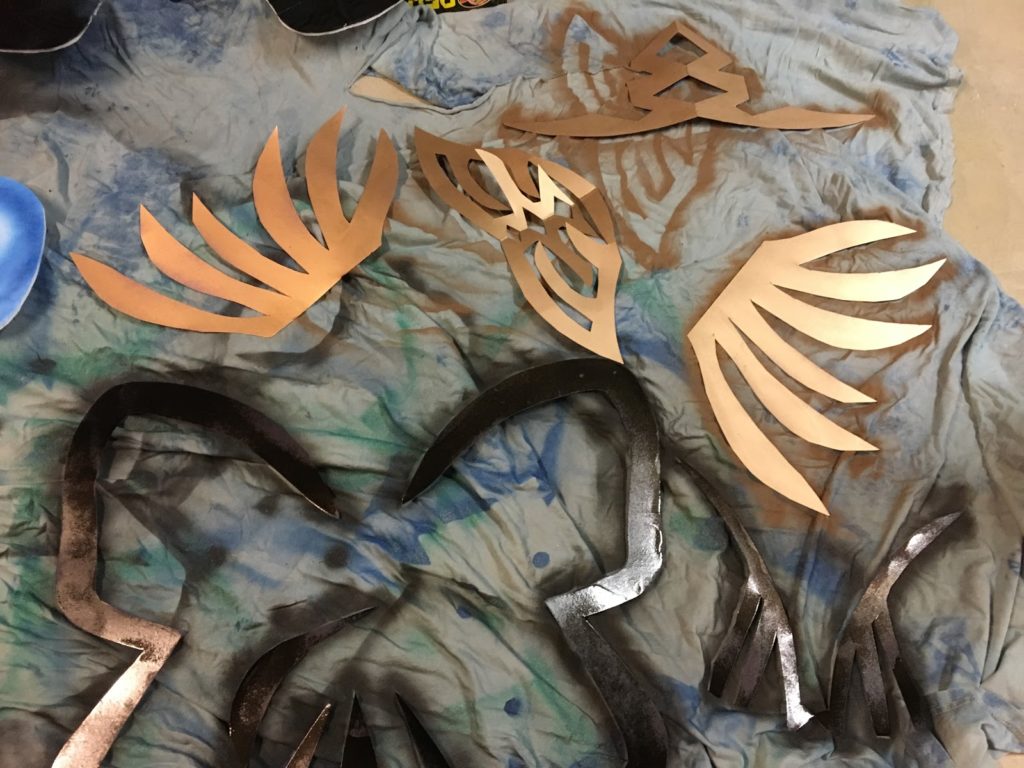
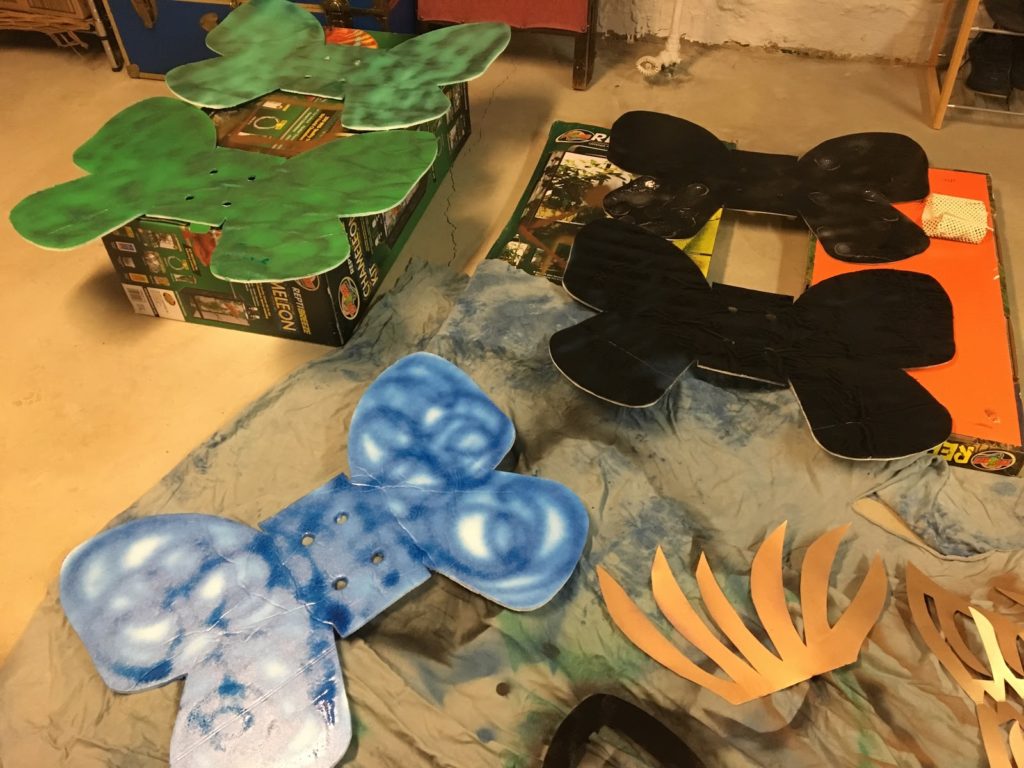
3. Decorate – The Fun Part!
a. This is where you can let your creative side run wild! Spray paint, acrylic paint, stencils, masks (basically, the opposite of stencils), posterboard cutout shapes to glue on, found items, glitter, yarn, words–the sky’s the limit as far as ways to personalize and decorate your wings.
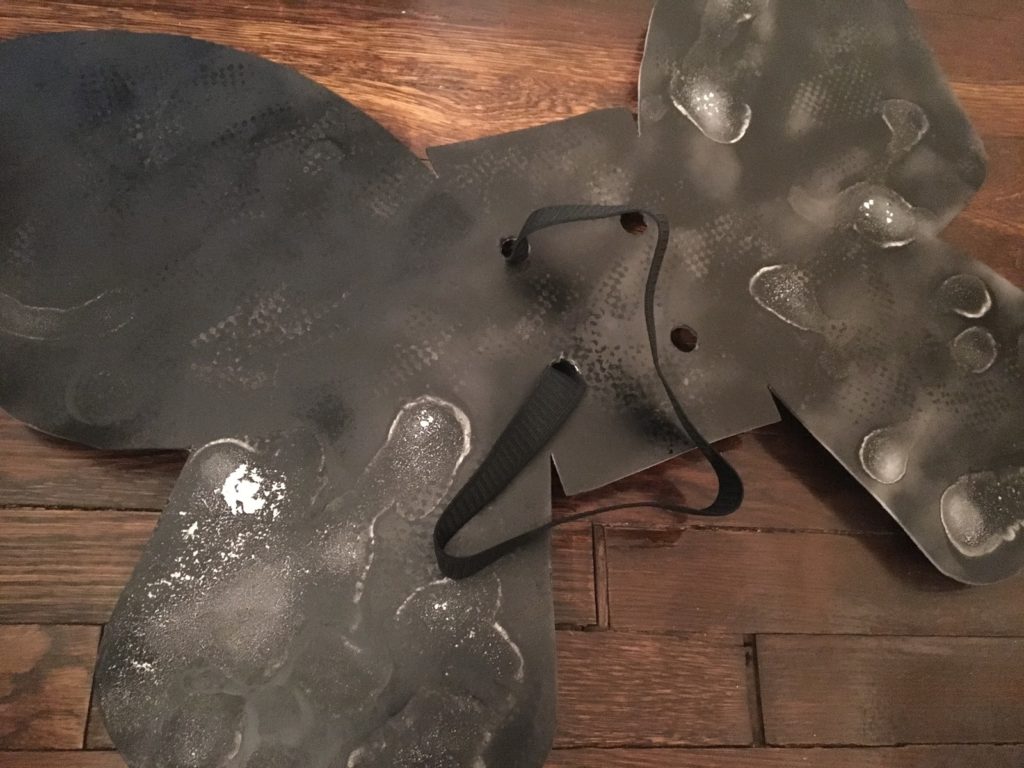
b. I’ll post some of my completed wings when they are ready. For now, here is how I am prepping some of the elements.
4. Complete Assembly
a. Cut two pieces of elastic for arm straps, to size. I am a 5’3” woman of average build, but I plan to wear the wings over a winter coat. I cut straps approximately 29.5 inches long. Thread elastic through holes as shown to create two large loops.
b. Overlap elastic by at least two inches and staple or sew together. Reinforce the join with extra staples or stitches to make it sturdy.
c. Spray entire set of wings, front and back, with finishing spray and let dry.
Things I Learned
Heavy weight cardboard makes sturdier wings, but requires power tools to cut.
The water in spray paint can cause foam board to buckle; consider using regular acrylic paint instead.
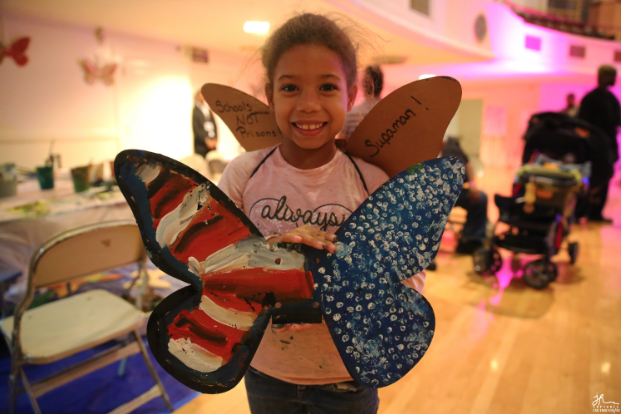
For inspiration, check out these completed wings.